Saturday, 8 February 2014
Rooting an Android device is comparably the equal of jailbreaking in the iOS world, a procedure for altering the original OS by unlocking the operating system so that third- party apps(i.e. apps not endorsed by Google or downloaded from the google playstore) can be installed, downgrade or upgrade firmware, update the OS, change the clock speed of the processor,add more display styles according to your personal preference, add advanced features, and making it short,customize the interface and in short gives you total control of the device.
Naturally,the process of rooting can be very scary for an ordinary android user since it violates policies of manufacturer's warranty. But be reminded, that, making wrong moves could be disastrous to the smartphone since rooting accesses the device's major system software..
Fortunately, a software(Kingo Android Root) has been developed which encompasses all the procedures of rooting, making the process few clicks away. It's free, and based on my initial tests with a Virgin Mobile Supreme, it works like a charm. (Be sure to check the compatibility list before you proceed, keeping in mind that although the Supreme wasn't on it, the utility had no problem with it.)
Things to do before rooting
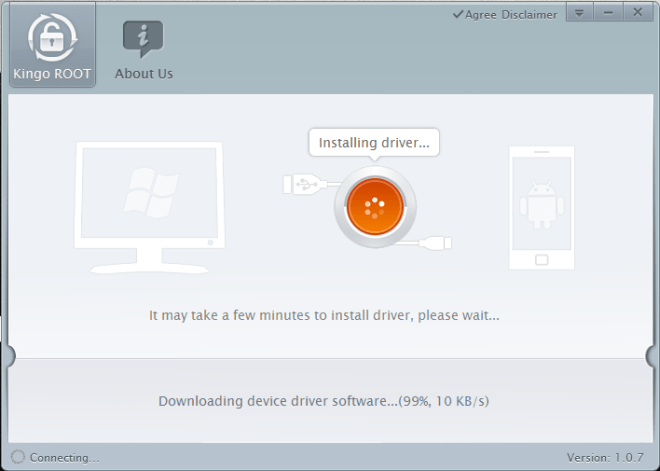
1) Download and install Kingo Android Root2) Install USB Driver for android device to transfer files between the Android device and the computer.

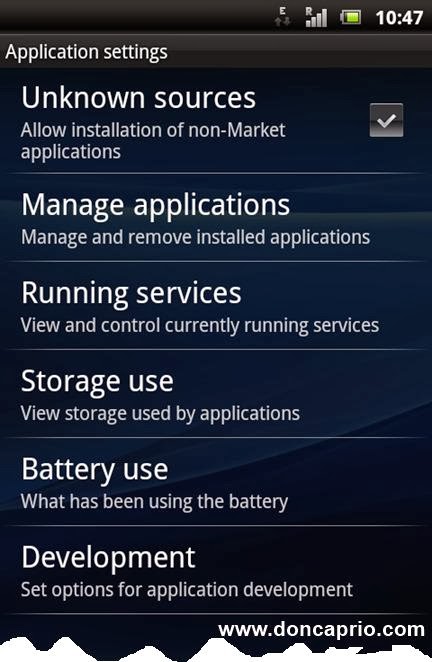
 3) Enable USB Debugging Mode on phone to connect it with computer and use Android SDK with it. [Navigate to Settings>> Developement or on later versions of android (Developer options) to enable USB debugging mode.]
On Android 4.2 and later, tap Settings >> About Phone>> Developer Options>>
and then tick USB debugging. " Then tap OK to approve the setting change.
4) Backup important files and documents, as the process might erase all data of the phone.
5) Make sure the Android device has enough power to last through the process because the phone could get damaged when it powers off during the process.. To ensure that everything goes smoothly, charge the device's battery to about 70%.
Rooting
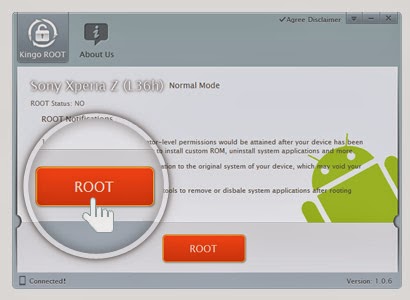
Run Android Root on your PC, then connect your phone via its USB sync cable. After a moment, the former should show a connection to the latter.Click Root

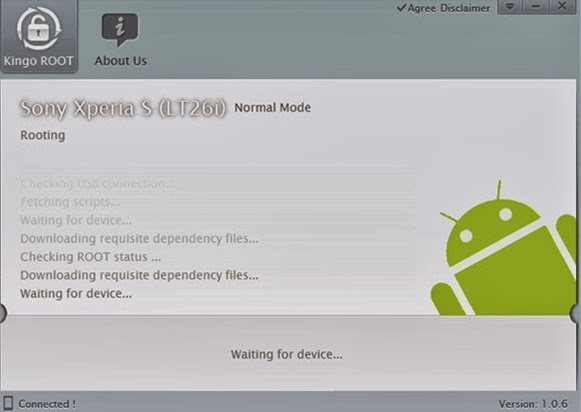
then sit back and wait while the software processes..

And that's all there is to it. If you decide you want to reverse the process, just run Android Root again, connect your phone, then click Remove Root.
With that done, now you can take advantage of options like USB On-the-Go to make your unexpandable phone expandable. Hit the comments to share your favorite tricks for a rooted Android phone.
Subscribe to:
Post Comments (Atom)
Translate
Advertisement
Popular Posts
-
The Piper Arrow is suitable for small family sizes. Large family sizes can look out for the Dakota. More spacious and ...
-
How to play PES 2013 with a low spec machine First of all, these are the specifications to run the software; MINIMUM SYSTEM REQUIRE...
-
Two Russian guys named Raskalov And Vadim Makhorov decided to challenge the laws of gravity and death by climbing and filming themselves...
-
Have you ever seen or known a very average looking guy, or even an ugly dude, who is able to date the best-looking girls in town? The tr...
-
Free blogger templates downloads, download free blog templates, best free blogger templates and much more are the various branding we see ...


0 comments:
Post a Comment